The first month after a roofline improvement is not the time to admire the finish and move on. It is the time to notice whether water, movement, or a small gap has decided to send up an early warning flare.
If you have just had gutters, fascias, soffits, or related roofline components improved, the useful questions are simple. What should you check now? What belongs on a seasonal routine? When is a photo enough, and when is a follow-up visit the sensible next step? And, because nobody enjoys unnecessary drama, how do you keep the whole thing safe without pretending a ladder is a personality trait?
Two practical references help set the tone. The OSHA ladder safety guidance is a sober reminder that access matters as much as the task itself. The National Weather Service thunderstorm guidance makes the same point from another angle: if the weather is active, your inspection can wait. Roofline problems often reveal themselves after rain, wind, or a freeze-thaw cycle, which is exactly why aftercare has to be deliberate rather than casual.
This guide gives you the practical version: what to do in the first few weeks, how often to check and clean, how to report issues clearly, and when to stop managing the problem yourself and book a proper inspection. The aim is not perfection. The aim is avoiding a small maintenance oversight that becomes an expensive story with a very ordinary beginning.
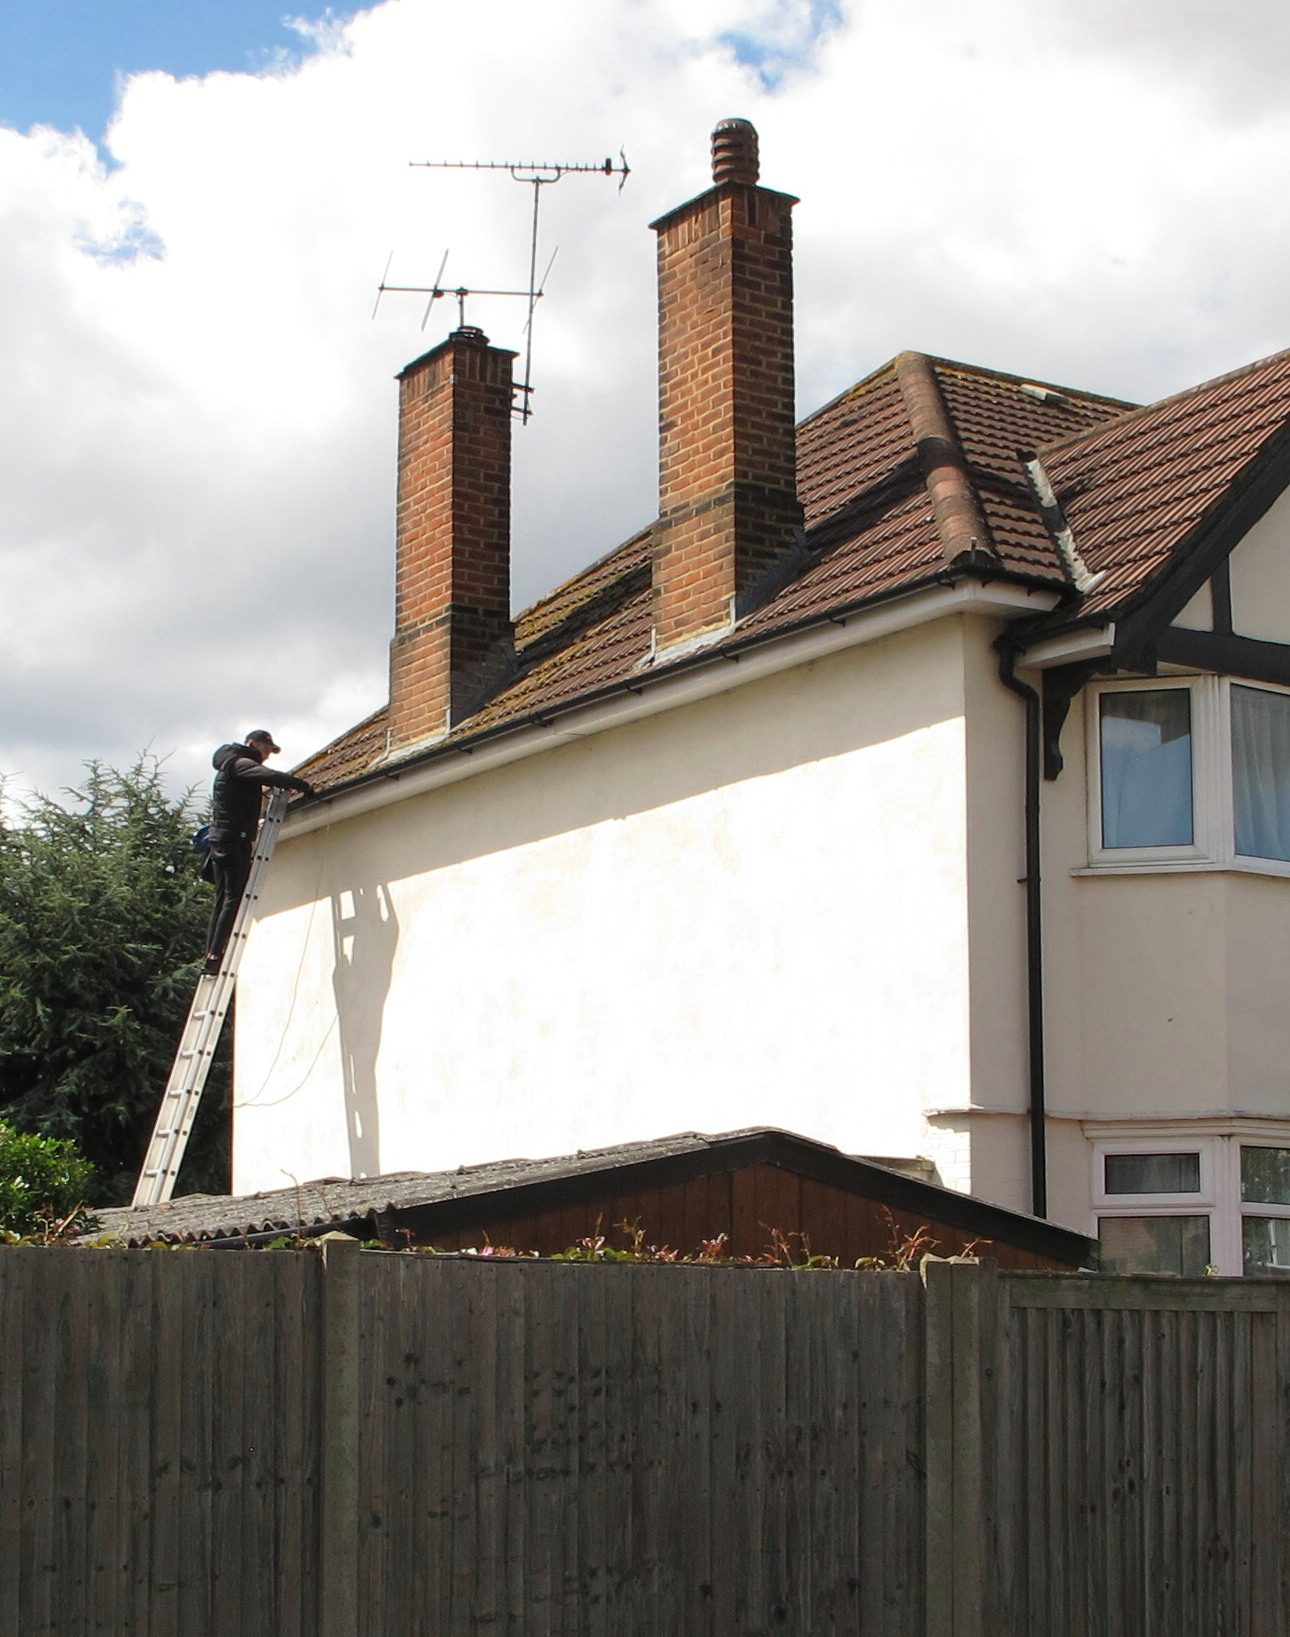
Immediate aftercare: the first few weeks
The first few weeks after installation or improvement are worth paying attention to because they tell you whether the system has settled cleanly. Most roofline problems do not announce themselves with fanfare. They start with a loose joint, a tiny drip, or a section that looks slightly less tidy than it did on day one.
Do a same-day visual check
Once the work is complete and the site is clear, walk around the property and look at the roofline from ground level. You are checking for obvious issues, not looking to become an amateur inspector with a clipboard and an opinion.
- Check that gutters sit in a straight, consistent line. A visible dip can suggest poor fall or a loose fixing.
- Look at joints, corners, outlets, and downpipe connections. These are the places where minor fit issues tend to show first.
- Look for fresh marks on walls, soffits, or fascias. New staining after installation is worth flagging early.
- Confirm that any removed debris, packaging, or leftover fixings are gone. The roofline should not come with a small museum of job-site relics.
If something looks wrong immediately after the work, raise it promptly. A contractor is far more likely to address a fresh issue cleanly than a vague memory of “that one thing looked a bit odd, maybe” three weeks later.
Read and keep the care notes
Good installers usually leave a short set of aftercare notes. Keep them. If they mention a sealant curing period, a cleaning restriction, or a follow-up check, treat that as part of the installation, not as optional reading for later.
The practical point is simple: not every material behaves the same way in the first days after fitting. Some products need a short settling period. Some need a gentle first clean rather than a more aggressive one. Some require you to leave them alone long enough for any sealant or joint material to do its job. That is not mystery. It is just materials behaving like materials.
Take baseline photos
Take a few clear photos once the installation is complete. You are not building a gallery. You are building a record of what “good” looked like before weather, debris, and ordinary use had time to change it.
- Take one wide shot of each elevation. This helps establish the general line and overall finish.
- Take close-ups of joints, corners, and downpipe outlets. These are the most useful comparison points later.
- Capture any areas that were specifically discussed during the job. If a section was repaired, replaced, or adjusted, photograph it now.
- Store the photos somewhere easy to find. The best evidence is the kind you can still locate when you need it.
If you ever need to report a problem, these baseline photos give context. They save everyone from guessing whether a stain is new or whether a joint was always aligned that way.
Keep the site tidy for the first fortnight
Fresh roofline work should be left in a clean, open state if possible. Do not stack materials against downpipes, do not leave garden waste under the run, and do not let climbing plants or overhanging branches immediately cover the work area again.
That sounds obvious, which is usually a sign that it has been ignored at least once by someone with a confident tone. Keep the area visible. If a new issue appears, you want to be able to see it clearly.
Ongoing checks: what to look for
After the first few weeks, the job becomes routine. Routine is useful because it catches the slow stuff: the gutter that starts to hold water, the joint that loosens, the seal that does not fail dramatically but simply gives up a little at a time.
A sensible pattern is a quick visual check every month, a more deliberate check each quarter, and an extra look after heavy rain, storms, or strong winds. If you live with trees nearby, high winds, or a lot of leaf fall, you may need to check more often. Nature rarely agrees to a maintenance schedule.
| Check timing | What to inspect | Why it matters |
|---|---|---|
| Monthly | Visible debris, sagging sections, loose downpipes, fresh wall staining | Early signs of blockage or movement before water starts escaping |
| Quarterly | Seals, joints, fixings, fascia boards, soffit edges, discharge points | Parts that can wear quietly until they begin to leak or shift |
| After storms | Wind damage, blocked outlets, slipped sections, new marks below the run | Storms often reveal weak points that looked fine the day before |
Watch the gutter line itself
From ground level, the gutter should appear consistent. It does not need to be theatrical, but it should look intentional. Watch for dips, twists, or sections that seem to have moved relative to the rest of the run.
- Sagging often means water is pooling or fixings have loosened.
- A repeated drip at the same point usually means the issue is at a joint, seal, or outlet.
- Overflow after cleaning often points to a slope or blockage problem, not just surface debris.
The gutter is only doing part of the job if it can carry water away when the weather is light but struggles when rain becomes serious. That is the sort of performance nobody should accept from a drainage system.
Check the downpipes and discharge point
Downpipes matter more than they look from a distance. If the roofline is the collecting arm, the downpipe is the route out. If that route narrows, blocks, or ends in the wrong place, the entire system starts working against itself.
The EPA guidance on redirecting downspouts is useful because it reinforces a plain point: water should be carried away from the building, not allowed to sit against it. When checking your own system, look for discharge that is clear, unobstructed, and directed away from the wall and foundation area.
- Check the top of each downpipe for buildup or visible blockages.
- Check the base for overflow, splashback, or standing water.
- Make sure extensions, elbows, and fittings are still properly aligned.
Look for signs of movement around fascias and soffits
Fascias and soffits are easy to ignore when they are doing their job. That is the point of them, so in fairness they are not asking for applause. Still, they deserve a quick inspection because staining, gaps, or movement there often indicate that water has found a way to misbehave.
- Staining can point to repeated overflow or leaks.
- Small gaps can grow if fixings loosen or materials settle.
- Peeling paint or softened-looking surfaces can indicate moisture exposure.
If you notice these symptoms, do not assume they are cosmetic. Many “cosmetic” roofline issues are simply earlier chapters in a moisture problem.
Check the inside as well as the outside
When conditions are dry, it is worth looking in the loft or attic if you have access. The inside of the building often tells the story more clearly than the outside does.
- Look for damp patches, discolouration, or daylight where there should be none.
- Smell for persistent mustiness after rain.
- Check whether insulation appears damp or compressed near the eaves.
These signs do not automatically mean the roofline is the only issue, but they are enough to justify closer attention. Water has no respect for tidy assumptions.
Cleaning guidance and frequency
Cleaning is part of aftercare, but it works best when it is done lightly and consistently rather than aggressively and rarely. For most homes, the schedule depends on surrounding trees, prevailing weather, and how much debris the roofline collects during the year.
A practical cleaning rhythm
| Environment | Suggested frequency | Notes |
|---|---|---|
| Open site with little tree cover | Twice a year | Usually enough for general debris and seasonal checks |
| Tree-lined streets or leafy gardens | Three to four times a year | Leaf fall and seed debris can block outlets quickly |
| High-wind or storm-prone conditions | After major weather events plus seasonal checks | Storm debris often collects where it is least visible |
| Properties with known drainage quirks | As advised after inspection | Repeated issue points deserve a more tailored routine |
That schedule is not a law carved into stone. It is a working starting point. If your property picks up debris faster, clean more often. If it stays relatively clear, a lighter schedule may be enough.
Use the right tools
For basic, safe maintenance from the ground or from stable access, the list is short. You do not need industrial equipment. You need control, visibility, and common sense in roughly equal measure.
- Soft brush or hand brush for loose debris.
- Bucket or waste bag for collecting what you remove.
- Gloves for sharp edges, grit, and general household reality.
- Binoculars or a phone camera with zoom for checking higher sections safely from the ground.
- Garden hose used gently from a safe position if you are confirming flow at the ground level and not forcing water into joints.
Avoid high-pressure cleaning close to joints, seals, or older finishes. A pressure washer can move grime, but it can also move water into places that were doing fine until you arrived with enthusiasm.
If you are unsure whether a clean is appropriate, read the product or installer notes first. The safest maintenance task is the one that matches the material you actually have, not the material you wish you had.
Keep the discharge path clear
One of the most overlooked parts of maintenance is the point where water leaves the downpipe. That area can still create problems even when the gutter itself looks fine. The exit should not be blocked by leaves, mud, broken fittings, or anything else that turns a drainage route into a puddle with ambition.
- Make sure water flows away from the foundation and wall area.
- Check gullies, drains, or extensions for blockages.
- Clear debris after storms so the next rainfall has somewhere to go.
For broader storm-readiness advice, the Ready.gov severe weather guidance is useful because it keeps the focus on preparation rather than hope. Hope is fine for birthdays. It is less effective as a maintenance plan.
How to report issues clearly
When something looks wrong, the quality of your report matters. A good contractor can work with a clear description. A vague message can still be helpful, but it tends to slow everything down because nobody wants to guess which corner, which joint, or which rainstorm you were talking about.
What to photograph
Take photos that tell a story rather than a mystery. The goal is to show location, scale, and timing.
- One wide shot of the full elevation. This shows where the issue sits on the building.
- One medium shot that identifies the exact run. Include the relevant downpipe, corner, or joint.
- One close-up of the problem itself. Show the stain, leak path, separation, or debris clearly.
- One photo taken after rain if the issue appears only when wet. That often reveals the real flow path.
- One photo of any internal sign, if relevant. Damp patches inside are often important evidence.
If you can, keep the image date and time visible in the file details. That is a small administrative step that saves everyone from arguing with memory, which is a notoriously optimistic tool.
What to include in the message
Write the report the way you would want to receive it if you were the person diagnosing the issue.
- Where the problem appears. Be specific: front left corner, rear downpipe, first-floor fascia, and so on.
- When it happens. After heavy rain, in strong wind, only after long dry spells, or all the time.
- What changed. New staining, drips, overflow, sagging, or loose sections.
- What you have already checked. That saves repeating the obvious.
- Whether the issue is getting worse. Escalating symptoms matter more than isolated quirks.
A simple message is usually enough:
We noticed water overflowing from the rear gutter after heavy rain. The issue seems to be at the corner near the downpipe, and there is a new stain below the soffit. We have attached photos from today and one from after the last storm.
That is concise, specific, and useful. It gives the contractor enough to start thinking rather than translating.
Use the contact page when you need a proper record
If the issue is more than a one-off question, use the contact page and keep the message focused. A written report gives you a clean trail of what was observed and when, which is useful whether the next step is advice, a visit, or a follow-up inspection.
For a wider look at the business and the services around roofline care, the home page is the best starting point. That is the public-facing version of “start with the basics before improvising.”
When to book a follow-up inspection
Some homeowners only book a follow-up when something clearly fails. That works, in the same way it works to visit the garage only after the engine makes a noise. A better approach is to book follow-up checks when the work is new, the weather has changed, or the symptoms are recurring.
Good reasons to bring someone back
- Persistent drip points after cleaning.
- Repeated overflow during ordinary rain.
- Visible sagging, twisting, or separation in the run.
- Fresh staining on fascia, soffit, or wall surfaces.
- Water entering the loft, attic, or upper wall area.
- Any issue that returns after you have already documented and reported it.
If the installation is brand new, a sensible window for a follow-up look is often within the first six to twelve weeks, especially if the work has gone through at least one meaningful rain event. After that, another check after the first full storm or leaf-fall season can be useful. The exact timing depends on the property, the weather, and what the original installer recommended.
What a sensible follow-up should cover
You are looking for a proper assessment, not a cursory nod from the driveway.
| What to ask for | Why it helps |
|---|---|
| Clear explanation of the issue | Tells you whether the problem is cosmetic, maintenance-related, or structural |
| Photos of the affected area | Creates a record and reduces guesswork later |
| Written next steps | Makes it easier to compare advice and schedule work |
| Any recommended maintenance interval | Helps you set the next check before the problem repeats |
When choosing who should inspect it, look for someone who can explain what they saw in plain language, show you the area in question, and separate “needs cleaning” from “needs repair.” Clarity is the deliverable. Confidence without explanation is just noise with a ladder.
Choose a qualified inspector by the evidence they provide
The right person does not need to perform magic. They need to be methodical. Ask whether they will inspect the full run, identify the likely cause, and give you a written summary. That is the standard that keeps small issues from becoming recurring ones.
- Do they work regularly with roofline components?
- Can they explain the likely cause in plain language?
- Will they show photos or point out the actual fault?
- Do they give a written note of the findings and recommendations?
If the answer to those questions is yes, you are more likely to get a useful inspection than a dramatic opinion. That distinction matters.
A simple aftercare routine that holds up
If you want the short version, keep it boring and repeatable:
- Check the roofline visually as soon as the work is finished.
- Keep baseline photos of what good looked like.
- Inspect monthly, then more carefully each quarter and after storms.
- Clean lightly and safely, with the right tools and the right frequency.
- Report recurring issues with photos, location details, and timing.
- Book a follow-up inspection when the same symptom keeps returning or when water starts to find its way indoors.
The point of aftercare is not to become obsessed with the roofline. It is to notice enough, early enough, that the system stays effective. Most homeowners do not need more drama than that, and the roofline certainly does not.
If you want help assessing what you are seeing, use the contact page and include photos. If you want the broader context of the site and services, start from the home page. Either way, the winning move is the same: keep watch, keep records, and deal with small problems before they become a project.