A downpipe can look like a minor detail right up to the moment water starts landing in the wrong place.
Homeowners usually start asking the same practical questions: why is water overflowing when the gutter itself looks clear, why does the ground stay wet near one corner of the house, and when is a drainage problem a quick fix rather than a sign that the whole route needs attention?
Those questions matter because a rainwater system succeeds or fails at ground level as much as it does at roof level. Available guidance from Historic England notes that effective discharge into gullies is critical for proper rainwater performance, while the Met Office points to a future with more intense heavy-rainfall days. In plain terms: routing matters, and it matters more when weather is less forgiving.
This guide looks at what downpipes actually do, the routing mistakes that cause repeat problems, the signs a system is struggling, and the questions worth asking before you spend money on changes.
What downpipes do beyond “moving water”
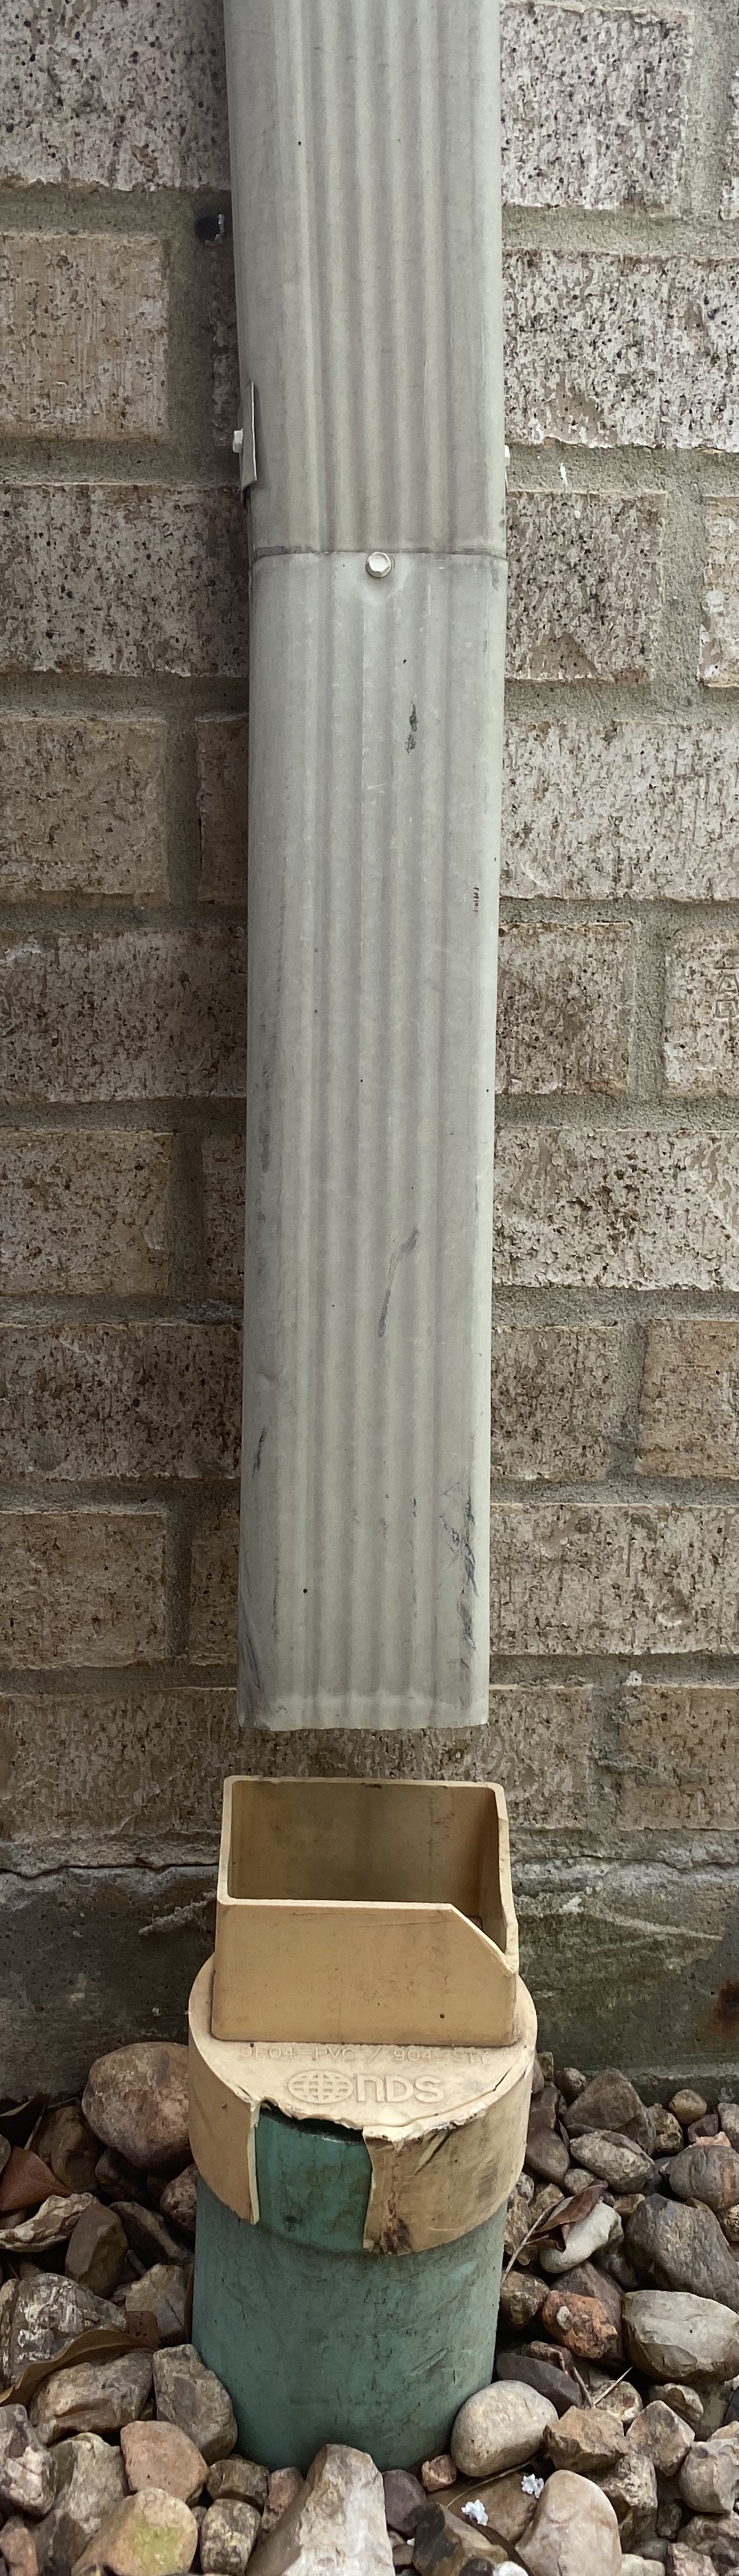
A downpipe is the transition point between roof drainage and ground drainage. That sounds obvious, but it is the useful starting point. The job is not simply to get water down the wall. The job is to get it away from the building, into a route that can cope, without causing splashback, saturation or hidden blockages.
When a system works well, water leaves the roof, passes through the gutter outlets, drops cleanly through the downpipe and reaches a gully, drain, soakaway or other discharge point that keeps the area around the building reasonably dry. When it works badly, the same system may still appear to be “taking water down”, but it is actually depositing that water in the wrong place or at the wrong rate.
That distinction explains why two houses can have similar guttering yet very different results in heavy rain. One route may discharge cleanly into a maintained gully. Another may empty too close to paving, flower beds, thresholds or wall bases, where water can pool, bounce, stain and slowly create a larger maintenance problem.
If you are already reviewing broader roofline condition, the home page gives a useful overview of the kinds of components that work together here: guttering, fascias, soffits and drainage details rarely perform as isolated parts.
Common routing mistakes and their effects
Most recurring downpipe problems are not dramatic design failures. They are small routing decisions that make the system less tolerant of real weather.
1. The discharge point is too close to the wall
Water can hit hard surfaces and rebound onto masonry, render, doors or lower roof elements. Over time that often shows up as localised staining, algae, splashing on paths or a persistently wet patch that never quite dries.
2. The downpipe feeds a gully or drain that is technically present but not coping
This is one of the more misleading situations. The route looks correct from a distance, yet leaves, silt or a partially blocked outlet mean the water backs up at the bottom. Historic England’s guidance on rainwater goods upgrades and alterations highlights the value of details that reduce leakage and improve maintenance access. That is a quiet but important point: if you cannot inspect the discharge area easily, problems stay hidden longer.
3. The route uses awkward bends or constrictions
A single bend is not automatically a problem. Several tight changes of direction, however, can slow flow and create places where debris catches. The result may only show itself during heavier rain, which makes diagnosis frustrating because the system seems fine in light showers.
4. There are too few outlets for the way the roof sheds water
This is where “sizing” enters the conversation without turning into a math lesson. A roof area that concentrates a lot of water into one section of gutter may simply ask more of a downpipe than that outlet can comfortably handle during peak rainfall. You do not need engineering calculations to spot the symptom: one area is doing all the hard work, and it shows.
5. The pipe is taking water away from the roof but not away from pedestrian areas
Sometimes the issue is not the building fabric first, but the ground use around it. A discharge that crosses a path, saturates a planting bed against the house or erodes a neat channel through gravel is still a routing problem, even if the wall above looks fine for now.
A useful takeaway is that a downpipe can be correctly attached and still incorrectly routed. Secure fixings are not the same thing as effective drainage.
Signs downpipes are not coping
Downpipe issues tend to announce themselves in patterns rather than single symptoms. The question is not whether you can spot one clue in isolation, but whether several clues point to the same weak route.
| What you notice | What it may suggest | Why it matters |
|---|---|---|
| Water overshoots or spills at the top of the pipe during heavier rain | Restriction below, outlet overload, or poor gutter fall | Water escapes before it reaches the intended ground drainage route |
| Persistent wet ground or staining near the base of one elevation | Discharge point too close to the wall or poor drainage at ground level | Moisture is being concentrated where the building does not want it |
| Gurgling, backing up, or delayed emptying after rain | Partial blockage or a buried connection that is slowing flow | The system may cope in light rain and fail when you need it most |
| Splashing across paths or paving | Discharge is uncontrolled or the receiving channel is too shallow | Water is being moved, but not properly managed |
| Repeated moss, algae, or dirt marks below one pipe | Long-term leakage or overflow in the same area | The pattern often reveals the route problem better than the pipe itself |
It helps to watch these signs in context. A wet corner after a single exceptional storm is one thing. The same corner after ordinary rainfall, especially if the mark grows or the ground stays saturated, is a stronger signal that the route is not coping as intended.
A simple example: an extension may have one downpipe discharging onto a narrow paved strip. For months it seems acceptable. Then autumn debris reduces flow into the nearby channel, winter rain intensifies, and the same corner begins to show splash marks and standing water. Nothing “suddenly broke”; the route just lost its margin for error.
How professionals assess capacity and drainage paths
A careful assessment usually starts from the outside in: where does the roof collect water, where does each outlet take it, and what happens when that water reaches ground level?
Professionals typically look at five things together:
- the visible condition of the gutter outlet, hopper and downpipe joints,
- whether one pipe is carrying a disproportionate share of the roof runoff,
- what sits at the base of the pipe: open shoe, gully, channel, drain or soakaway,
- evidence of leakage, staining, erosion or ponding around the discharge point,
- how easy the route will be to maintain once it is adjusted or repaired.
This is also the point where “capacity” becomes a practical judgement rather than a theoretical one. Instead of promising a perfect formula from ground level, a good inspection asks whether the current route has enough resilience for debris, seasonal weather and the way the roof actually throws water during peak rain.
Where access is needed, safety matters. The HSE’s work-at-height guidance is a useful reminder that ladders are a context-specific tool, not a casual first step for homeowners diagnosing wet walls. In most cases, you can learn quite a lot from ground-level observation: look for overflow marks, splashback, wet masonry, blocked gullies and delayed drainage after a shower.
The best inspections follow the full water path. They do not stop at the downpipe bracket halfway up the wall, because that misses the part of the route that often causes the trouble.
Questions to ask about improvements
If you are discussing repairs or alterations, a few specific questions usually tell you more than a generic promise that the pipe will be “sorted.”
- Where will the water go once it leaves the pipe, and how will that point be kept accessible for cleaning?
- Is the current issue mainly blockage, poor routing, too much water for one outlet, or a combination of those?
- Would a small change in discharge position solve the problem, or is the wider gutter-and-outlet layout part of the issue?
- Are there signs that water has already been affecting adjacent walls, paving, thresholds or below-ground drainage?
- After the work is done, what simple checks should you make through the year to confirm the route is still performing?
Those questions help separate cosmetic tidying from meaningful improvement. Sometimes the answer is a straightforward clean and adjustment. Sometimes it is a new shoe, a clearer open discharge into a maintained gully, or a rethink of how one section of roof sheds water. Context matters, but the principle stays the same: water needs a route that is visible, manageable and appropriate for the building.
If you want a second set of eyes on a recurring drainage issue, the most useful next step is to gather a few observations before you make contact: which elevation is affected, whether the problem appears only in heavy rain, and what happens at the base of the pipe after the shower passes. That makes a conversation through the contact page much more productive.
A practical conclusion
What we can say with confidence is that downpipes are not just vertical connectors. They are part of a drainage route, and that route only works when the bottom end is given as much attention as the top.
If you see repeat overflow, standing water, splashback or staining near one pipe, treat that as useful evidence rather than a minor annoyance. The aim is not simply to make water disappear faster. The aim is to keep it moving in a direction that protects the building and the ground around it.